Ultimate Guide for Beginners on How to Make A Picture Look Vintage
You've likely been captivated by those beautifully aged, vintage-looking photos on social media and wondered, "How do they achieve that?" The good news? It's simpler than you think. Whether you're a beginner or aiming to refine your skills, I'm here to walk you through the process of giving your pictures that charming vintage appeal.
Part 1: Understanding the Vintage Look
What Makes a Photo Vintage?
Vintage photos have this unique ability to whisk us away to bygone eras, even if they were taken yesterday. They're usually characterized by muted colors, a touch of grain, and sometimes, a dreamy soft focus that makes you feel like you're looking through your grandma's old photo album.

Why Vintage?
There's a certain magic in vintage photos. They tell stories, evoke emotions, and add a layer of depth that goes beyond the image itself. Personally, I've found that adding a vintage touch can turn a mundane photo into a conversation piece, especially in memes’ world.
Part 2: Tools and Techniques for the Perfect Vintage Look
Picking Your Potion
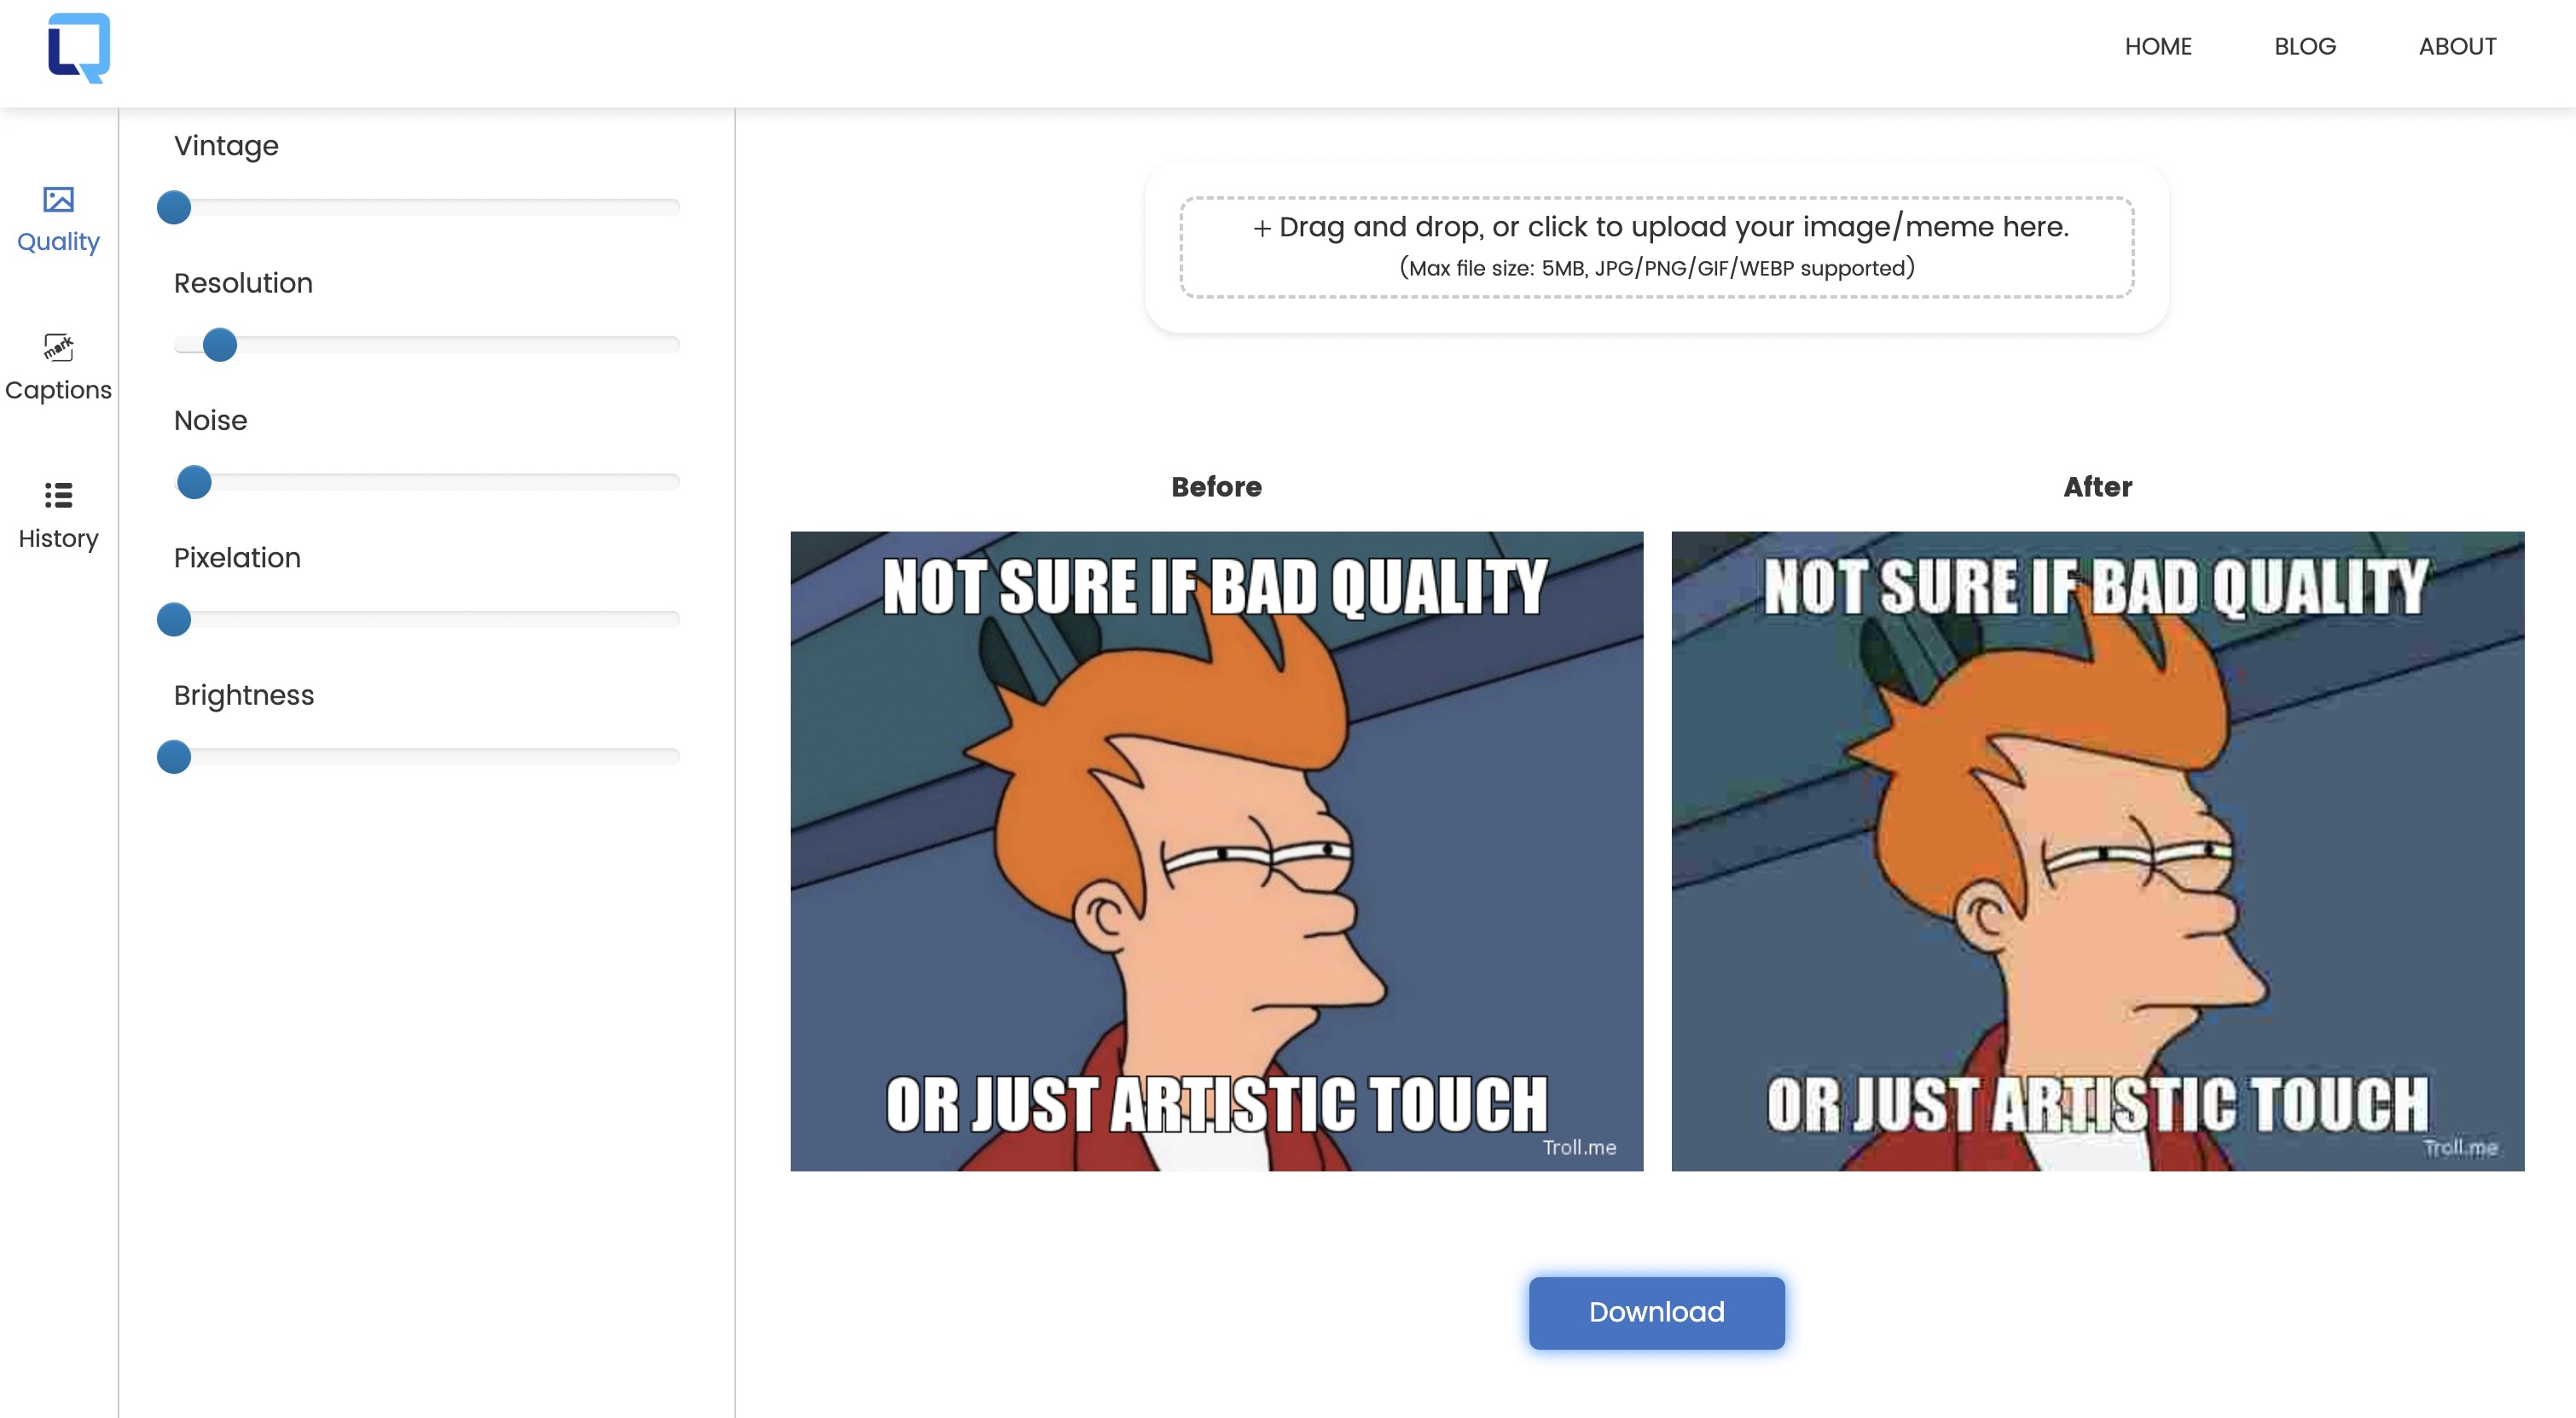
First things first, you'll need some photo editing software. Don't worry; you don't have to break the bank. There are plenty of free apps and software like lowqualitymemes.com, Canva, or even Instagram's built-in filters that can do the trick. If you're willing to invest a bit, Adobe Lightroom or Photoshop offers more control and options.
Basic Editing Techniques
Let's get into the nitty-gritty. Making a photo look old isn't just about slapping on a filter and calling it a day. It's about playing with elements to create the perfect aged look.
- Desaturation and Color Tinting: Vintage photos aren't usually vibrant. So, reduce the saturation to take away some of that modern photo's punchiness. Adding a sepia or a cool blue or green tint can also transport your photo back in time.
- Apply Grain: Modern photos are all about that crisp, clear look. But back in the day, film grain was a common trait. Adding a bit of grain can instantly age your photo.
- Add Vignette: A subtle vignette can give your photo that "shot with an old camera" feel. Just don't go overboard, or it might look like your photo is peering through a keyhole.
Part 3: Step-by-Step Guide to Vintage Glory
Step 1: The Right Candidate
Not every photo will look good with a vintage makeover. I once tried it on a photo of a neon sign, and let's just say it didn't quite capture the vintage spirit. Landscapes, portraits, and still life photos usually work best.
Step 2: Basic Edits
Start simple. Adjust the brightness, contrast, and saturation to set the stage. This is where you lay down the foundation for that vintage charm.
Take lowqualitymemes.com into an example. This is an online simple tool for crafting vintage-style memes. It reduces resolution, adds noise, and applies filters to give your memes a well-loved and much-shared look.

Step 3: Texture and Effects
This is where the fun begins. Layering textures like scratches or paper creases can add that old-photo feel. There are plenty of free resources online where you can find these textures. Just remember, subtlety is key.
Step 4: The Finishing Touches
Fine-tuning is all about adjusting until you hit that sweet spot. Sometimes, I find that stepping away for a bit and coming back with fresh eyes can help you see if you've nailed the look or if it needs more tweaking.
Part 4: Tips for Authentic Vintage Photography
Incorporating Vintage Elements
If you're shooting new photos with the intention of making them look vintage, think about the scene. Wearing modern clothes or having a contemporary car in the background can break the illusion. Thrift stores are gold mines for vintage props and clothing.
Learning from the Past
One of the best ways to master the old look is to study actual vintage photos. Pay attention to how they're composed, the common color schemes, and how light plays a role. It's like having a conversation with the past.
Conclusion: Crafting Timeless Memories
Turning your photos vintage is more than just an editing process; it's a way to reimagine your memories and see them through a different lens. It's about creating something that feels both timeless and deeply personal. So, don't be afraid to experiment and let your creativity run wild. The more you play around, the more you'll develop an eye for what works and what doesn't.
Additional Resources
For those of you eager to dive deeper, there are countless tutorials online that cover various aspects of vintage photo editing. YouTube is a treasure trove of step-by-step guides, and communities on Reddit or photography forums can offer feedback and inspiration. Remember, every great artist started as a beginner, so embrace the learning curve and enjoy the journey.
Creating vintage photos has become one of my favorite ways to breathe new life into my work, and I hope this guide inspires you to explore the endless possibilities of photo editing. Who knows? Maybe your next shot will be the one that transports someone back in time.
