Low Quality Image Maker Online - Free Tool to Make Pictures Look Bad on Purpose

There's a specific kind of joy in taking a perfectly good photo and absolutely ruining it. I'm not talking about a bad edit — I mean dropping the resolution to mush, crunching the colors, sprinkling in grain until the image looks like it was forwarded through a 2006 flip phone. A low quality image maker exists for exactly this purpose: making pictures look bad on purpose, fast, free, and without signing up for anything.
I run one of these tools at lowqualitymemes.com, and after watching a steady stream of images get dragged through the mud, I've learned what people are actually trying to do when they search for a "low quality image maker." This guide covers the use cases, the effects that sell the look, and how to push an image from "kinda crunchy" to "fully cursed" without overdoing it.
What Is a Low Quality Image Maker?
A low quality image maker is an online tool (or app) that intentionally degrades image quality — lowering resolution, adding compression artifacts, pixelating, shifting colors, and adding grain — to produce a worn, retro, or meme-ready look.
Unlike a regular image compressor (which tries to shrink file size while keeping the image visually clean), a low quality image maker does the opposite: it makes the picture visibly worse on purpose, because the degradation itself is the goal.
Typical features include:
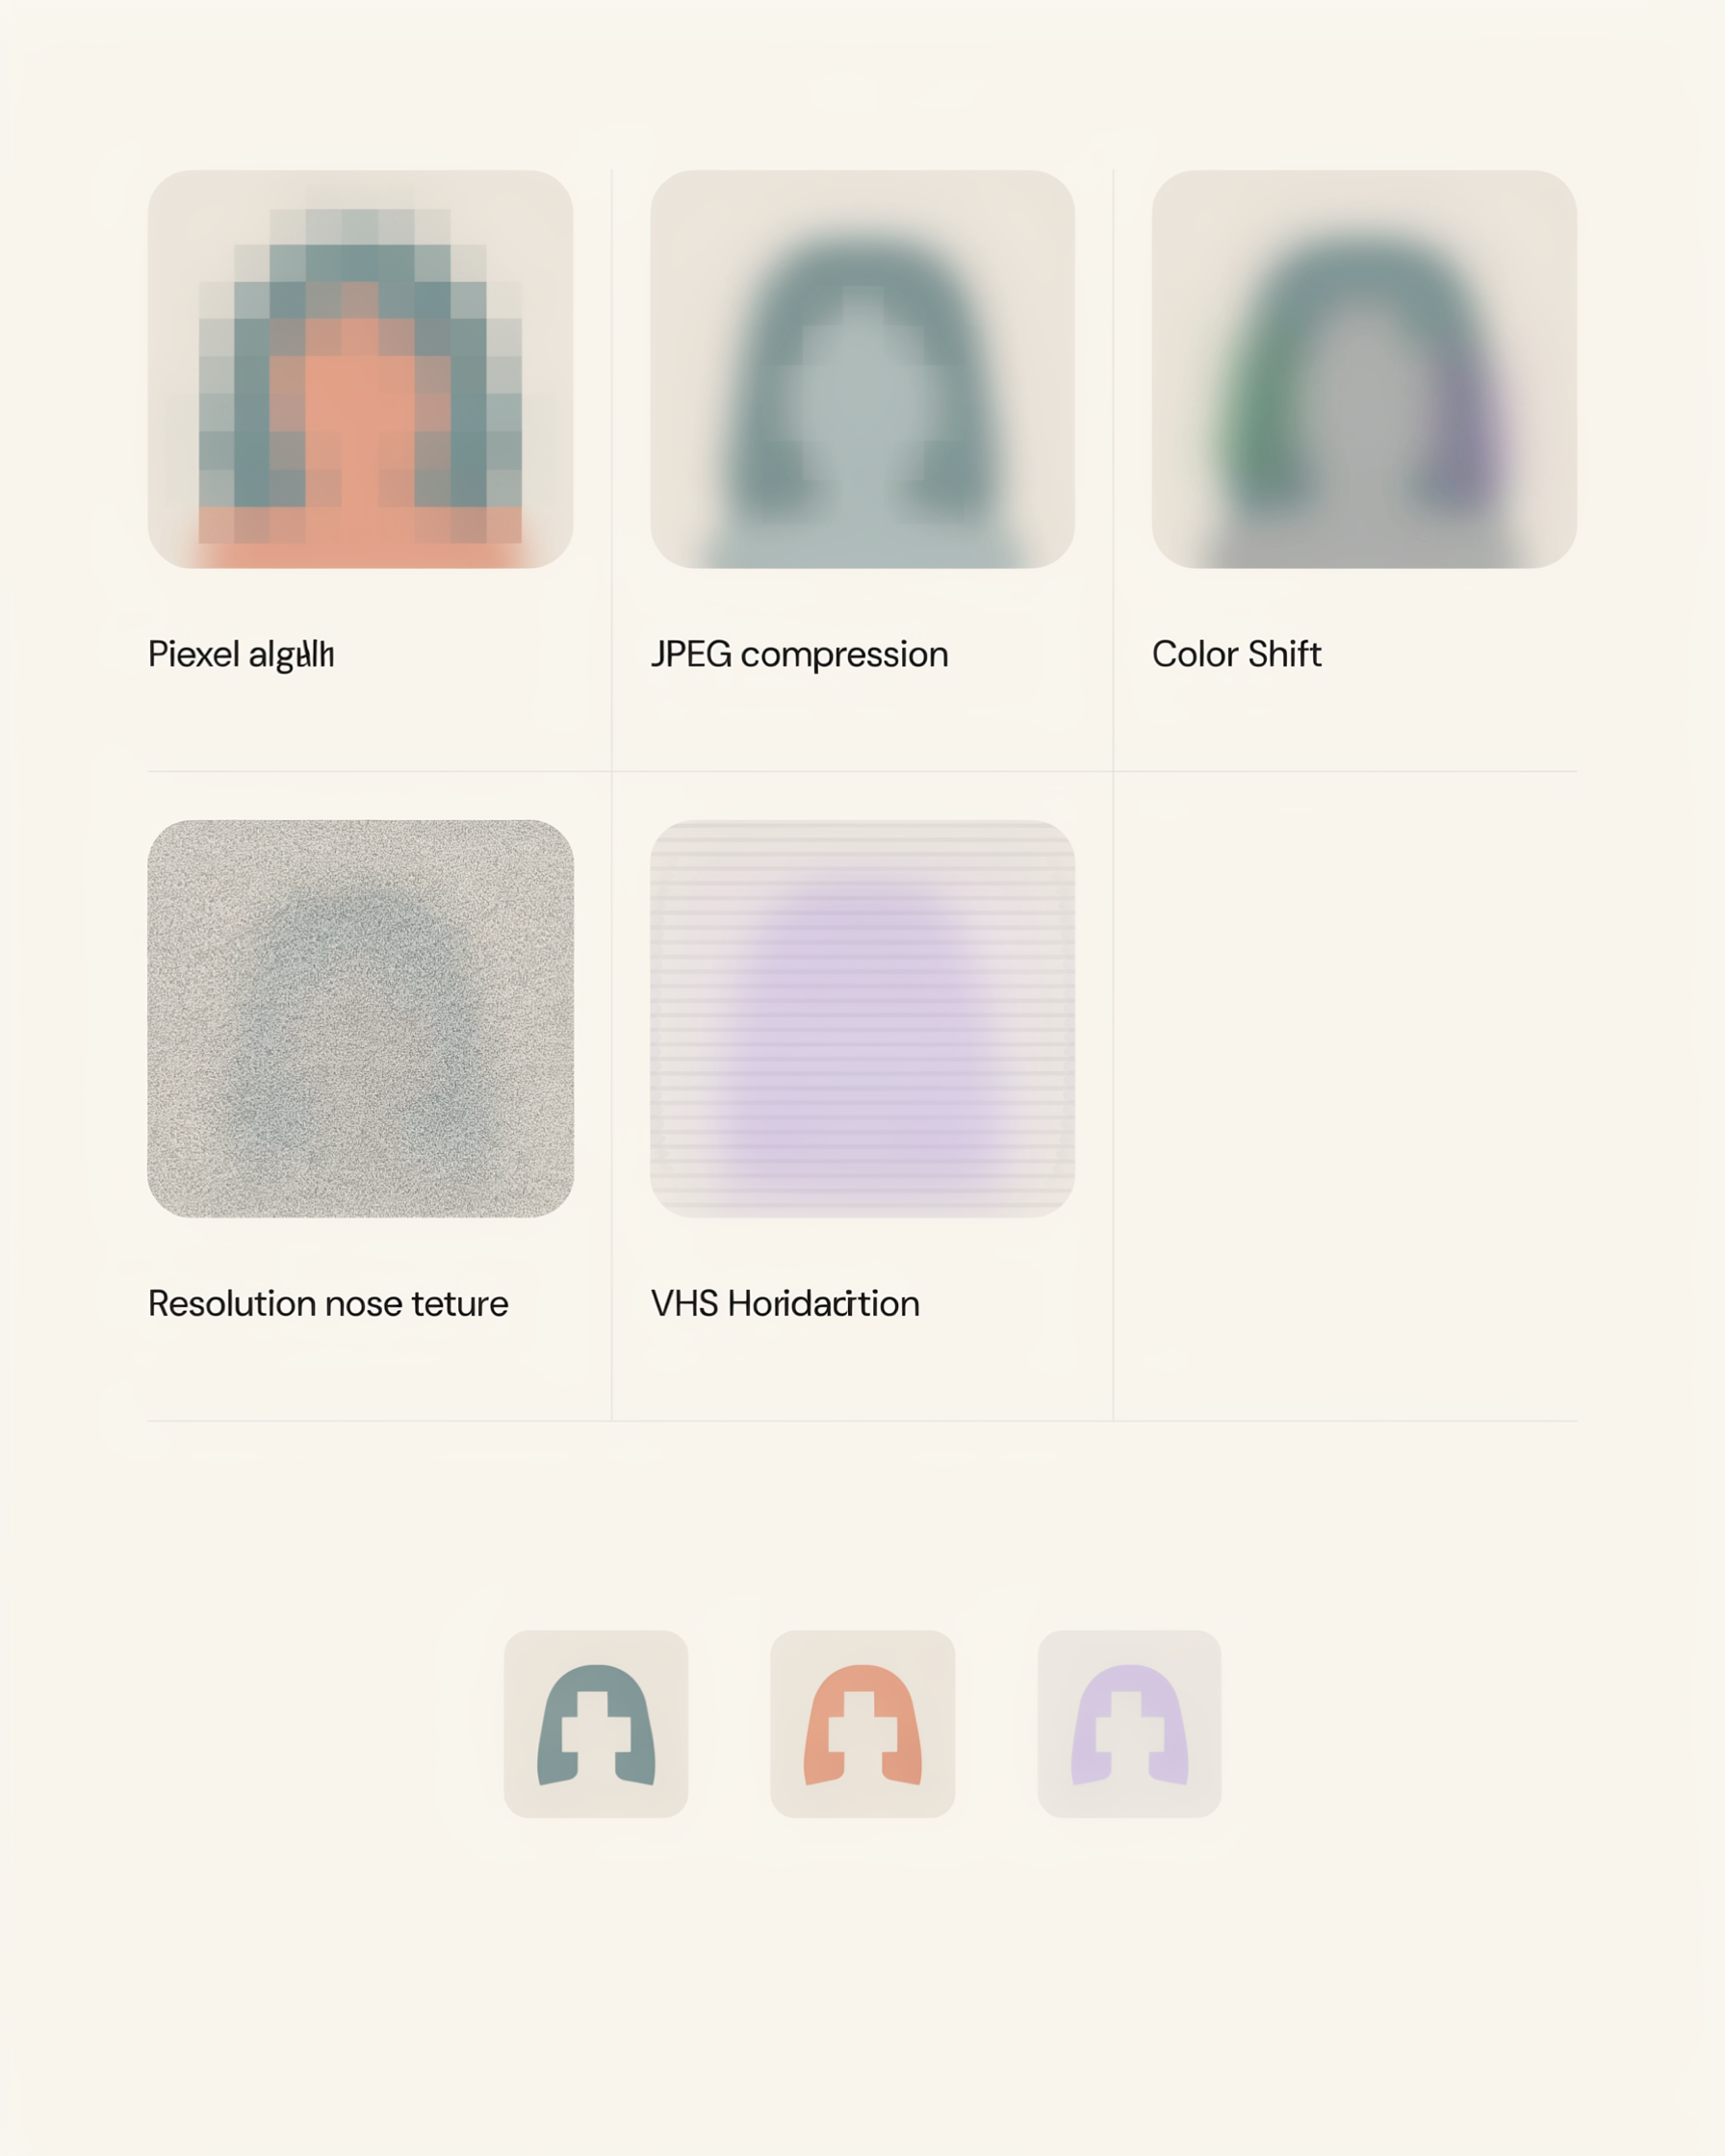
- Resolution reduction — drop a 4K photo to 144p energy in one slider.
- Pixelation — chunky mosaic squares, like a censor bar with personality.
- JPEG crush — recompress until blocky artifacts crawl across every gradient.
- Color shift — greens, magentas, harsh desaturation, or blown-out saturation.
- Film grain, dust, scratches — random texture that mimics aging film stock.
- VHS scan lines & chromatic aberration — the look of a taped-off CRT or a cheap lens.
The good ones run in the browser, don't watermark your output, and don't ask for an email. That's the entire point.
Why People Make Images Look Bad on Purpose
This isn't just shitposting — though it is mostly shitposting. The low-quality aesthetic shows up across a surprising range of contexts:
- Memes and deep-fried content — Communities like r/deepfriedmemes and r/144plockscreen treat degradation as a punchline. The worse the image looks, the funnier the joke lands.
- Nostalgic and vintage photos — Recreating the feel of a disposable camera, a 90s camcorder, or an early-2000s feature phone. See our vintage photo guide for the longer version.
- Cursed and liminal art — Horror-adjacent digital art leans hard into artifacts to make things feel "off" in a way the viewer can't quite name.
- Privacy before posting screenshots — Crushing resolution is a quick way to blur out usernames, faces, and identifying details before a screenshot goes public.
- Y2K and Web 1.0 design — The current wave of retro web design treats pixelation and compression as a feature, not a bug.
So when someone searches "low quality image maker," they're usually chasing one of those five intents, not just trying to ruin a vacation photo for the fun of it. (Though that's valid too.)
How to Use a Low Quality Image Maker (Step by Step)
The workflow is roughly the same across most tools. Here's how I do it in our free low quality image maker:
- Upload your picture. Drag in a JPG, PNG, or even a GIF. Anything you want to ruin goes in the upload zone.
- Drop the resolution. This is the single biggest lever. Most photos start at 2000+ pixels wide; dragging that down to 400 or below instantly gives you that early-internet thumbnail energy.
- Crush the compression. Re-saving a JPG at low quality introduces blocky artifacts. This is where the deep-fried texture comes from.
- Add grain and noise. A light dusting of grain sells the old-camera look. Heavy noise pushes it into deep-fried territory. Our film grain effect page has the longer breakdown.
- Shift the color. Push saturation past sane limits, or drain it entirely. Old phones shot greenish-yellow; VHS went magenta.
- Export. Download the image. No watermark, no signup, no email gate.
The whole process takes maybe 15 seconds once you've done it a few times. If you want the long-form version, this guide covers the underlying techniques in more depth.
Effects That Make an Image Look Genuinely Bad
Not all degradation is created equal. Here's what each lever actually does to the picture:
- Resolution drop — the foundation. Lowering pixel count is what makes an image feel "small" and cheap, regardless of how it's actually displayed on screen.
- JPEG crush — recompressing at quality 10–20% introduces visible blocks around edges and gradients. This is the literal texture of the deep-fried meme.
- Pixelation — different from low resolution: chunky square mosaic, like a censor bar. Great for combining censorship with aesthetics, and it's exactly what the image-to-pixel-art tool is built for.
- Color shift — greens, yellows, and magentas mimic aging sensors and bad white balance. The fastest way to make a 2025 phone photo feel like 2006.
- Grain and noise — random pixel-level variation. Light grain = 35mm film stock. Heavy noise = a broken sensor in a cheap camcorder.
- Scan lines / VHS — horizontal banding that reads instantly as "recorded off a VCR." Pair with chromatic aberration for full retro camcorder energy.
- Chromatic aberration — color fringing on edges, the look of a cheap wide-angle lens.
Stack two or three of these and you'll have a perfectly destroyed image. Stack all of them and you'll have an unreadable deep-fried meme — which, to be fair, is sometimes the goal.
Tips for the Perfect "Destroyed" Look
A few things I've picked up from watching people use the tool:
- Start with a clean, high-res image. Counterintuitive, but a sharp source gives the degradation more to chew on. A blurry source just looks like a blurry image.
- Don't max every slider. The best "bad" images use one or two strong effects, not all of them cranked to 100. Stacking everything at maximum looks chaotic in a boring way.
- Match the effect to the era you're chasing. VHS scan lines plus chromatic aberration reads as 1987. Heavy JPEG crush plus a green tint reads as 2003 flip phone. Grain plus desaturation reads as 1970s print film.
- Crop before you compress. Tiny details vanish when you drop resolution; crop tight first so the subject survives the destruction.
- Match the format to the vibe. Export as JPG for photos and GIF for animations. PNG fights you — it's lossless and won't give you the artifacts you want.
Free Low Quality Image Maker FAQ
Is a low quality image maker actually free?
The one at lowqualitymemes.com is. No signup, no watermark, no "premium" tier that gates the export button. Upload, ruin, download.
Will the tool work on my phone?
Yes — it runs entirely in the browser, so iOS, Android, macOS, and Windows all work the same way. The upload zone handles both touch and drag-and-drop.
Does it work on GIFs and videos?
GIFs yes — the editor preserves frames so you can degrade the whole animation. For videos, extract the frame you want first, then run it through the image maker.
Can I use the result commercially?
You own your input image and you own the output. There's no license claim on the degraded image, no matter how cursed it ends up looking. Make sure you have the rights to the source image — that part's on you.
Is this different from a regular image compressor?
Yes. A compressor tries to shrink file size while keeping the image looking clean. A low quality image maker does the opposite — it makes the picture visibly worse on purpose, because that's the entire point.
Make Your Image Look Terrible
If you scrolled this far, you already know what you want: a picture that looks like it survived a hard drive crash in 2005. Open the low quality image maker, drop your image in, and start dragging sliders until it looks properly bad. No signup, no watermark, no patience required.
Already done and looking for the next move? Try the make low quality memes walkthrough or go deeper on the 144p meme aesthetic — same energy, different flavor of destruction.